- Your cart is empty
- Continue Shopping


$12.00
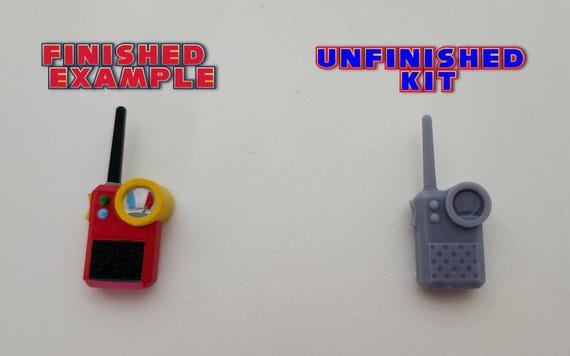
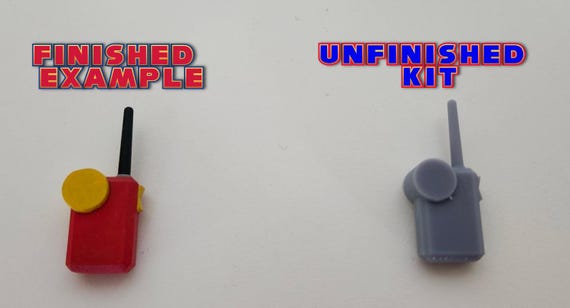
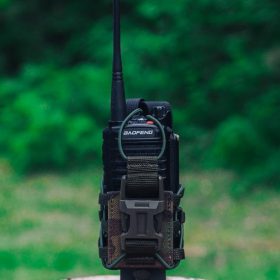
3D Printed Walkie Talkie
This is an aftermarket product and is not licensed by any trademark holder. It allows you to customize your Jakks 4in figure
3D Printed Walkie Talkie
This is an aftermarket product and is not licensed by any trademark holder. It allows you to customize your Jakks 4in figure and create your own fanart.
Walkie Talkie is scaled with the Jakks 4in line specifically so Vector can hold it
Each kit comes is 1 unfinished and unpainted walkie talkie
WARNING:
These figures are resin 3D printed. Please handle with care. Some parts (antenna) are fragile and will break if care is not used when sanding, finishing, or handling. These kits are right off the printer -they will need to be carefully sanded, filled, and painted.
Detailed Explanation of how I completed my kits:
**Note** I am not an expert on finishing prints and there are plenty of excellent resources including YouTube videos and Reddit posts that can thoroughly cover any questions you may have about the general process. It seemed like a lot to me at first, but I fell in love with the hobby of prepping and painting figures. Have fun!
1. Sanding
**Note** sanding of any material will cause dust particles that can be harmful if inhaled. This is especially true for resin printing. Personally I like to sand outside standing next to a fan so particles blow away from me as I sand. It is also recommended to wear a respirator or mask to make 100% sure you do not inhale particles.
Use 320 grit sandpaper; you will find resin prints sand very easily.
2. Use a small brush (old toothbrush) to remove any leftover dust that sticks to the print (remember to have the fan blowing that dust away)
3. Prime – Spray an aerosol can of white primer on the part using thin coats. This will help to cover any imperfections that you were unable to sand and the color white will make everything easy to paint later.
4. **Optional** lightly sand with 600 grit sandpaper for really smooth prints. Sand very lightly so that only the primer is sanded. Do not sand through to the resin beneath.
5. Paint – I like to use Vallejo acrylics. Make sure to mix small amounts of water to your paint (about 10%) to properly thin and brush on multiple light coats.
6. Sealing – After the parts are dry, spray an aerosol can of clear matte sealer on your finished prints. This will help to protect the paint from wearing off, especially when Vector holds the item.
| Made by | i_did |
|---|---|
| When made | made_to_order |
| Listing Type | physical |
| State | active |
| Quantity | 7 |
| Featured Rank | -1 |
| Number of Favorers | 26 |
| Taxable | Yes |
| Customizable | No |
| Personalizable | No |
| Personalization Required | No |


 BMD Micro converter directional, usb power strain relief")


Genesis Ticey Genesis Ticey –
love how the head replicates the sa2 model or the render I might buy this again but maybe the upgrades this time but oh my was this satisfying to paint even he primed and sanded it for me thanks!
HDNimbus HDNimbus –
Perfect for completing a Team Chaotix collection.
Jordan Narayan Jordan Narayan –
Amazing seller and good quality products would recommend heavily
HDNimbus HDNimbus –
Perfect recreation of Tails’ Arm Cannon in figure form.